Tasks

Tasks can be Assigned to you by others or Issued by you. To create a Task click ![]() at the top of the Task Panel.
at the top of the Task Panel.
Enter the Task details in the Task Description field Select the Role that the Task is to be Assigned to. Note that if multiple users are logged into a role, all users will receive the task. First user to accept the task will ‘own’ it.
Click Submit ![]()

If you receive a task, you will need to accept it before you can add an update. To accept the task, click ![]() . The status of the task will change to ‘Active’ on both the sender and receiver’s screen.
. The status of the task will change to ‘Active’ on both the sender and receiver’s screen.
To add information to the task click ![]() , complete your update and then click
, complete your update and then click ![]() to submit.
to submit.
To close a task, click ![]() to update, enter information explaining why the task is to be closed and then click
to update, enter information explaining why the task is to be closed and then click ![]() to close the task.
to close the task.
Once a task is closed, click ![]() to delete the task. Tasks to do not form part of the operation record unless linked to an actionable (see below).
to delete the task. Tasks to do not form part of the operation record unless linked to an actionable (see below).
Linking Tasks to Actionables
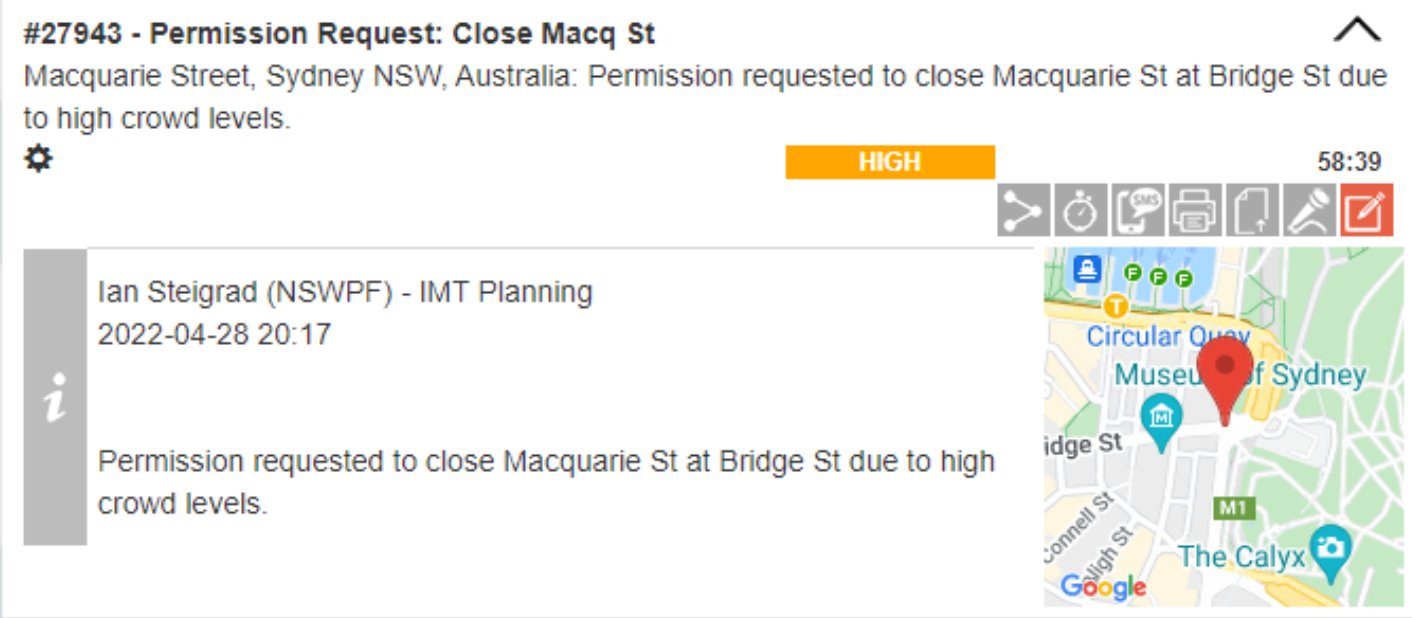
Linking a task to an actionable updates the actionable with every update of the relevant task. This means that all users in the operation can see the task and it forms a part of the formal operation record.
To link a task to an actionable, open the actionable by clicking ![]() then click
then click ![]() from inside the actionable.
from inside the actionable.

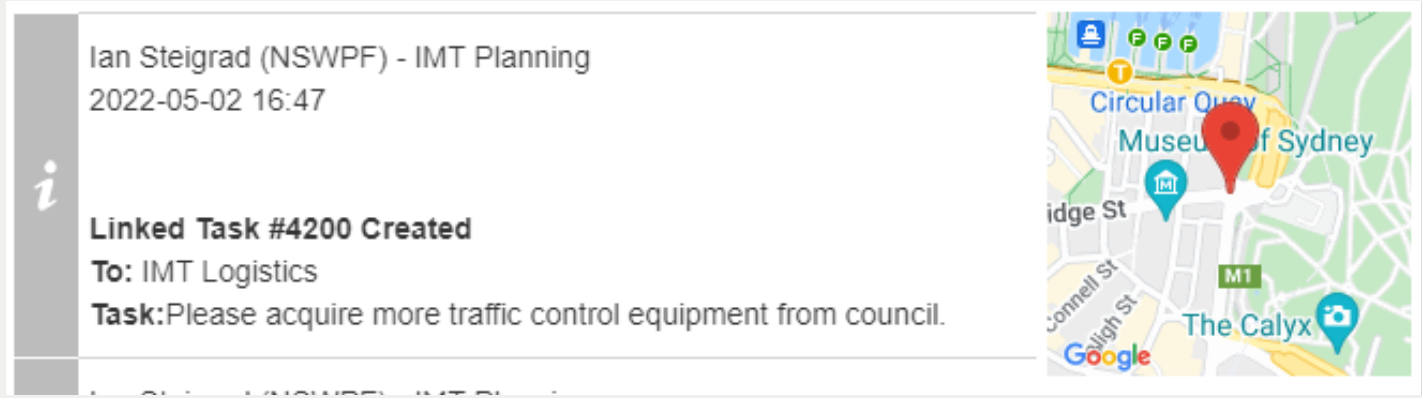
The task is then created from within the actionables panel. Once sent, the task shows in both sender’s and receiver’s task panel and all updates appear in the actionable as well as in the task.